eCommerce 101: How to Take Great Product Photos

eCommerce sellers know: one of the first steps to closing sales is to showcase your items. Here’s how to take excellent product photos.
If you’re an eCommerce seller, then you probably realize just how important product photos are. Along with the headline in your item description, images typically provide potential buyers with their first impression of your offerings.
In order to take and publish effective pictures of your items, you need to understand the factors that can help them get noticed, entice shoppers and encourage conversions. So today, let’s discuss how to take great product photos for eCommerce listings.
Take Clear & High-Quality Product Photos
First things first, make sure the clarity and quality of your product photos are on point. We aren’t saying you need to go out and buy the most expensive camera you can find or hire a pricey photographer, but you need to do everything you can to ensure your images look as clear and professional as possible.
This may seem overwhelming at first, but we’ll cover exactly how to achieve professional looking photos in the next few steps…
Keep the Background Clean

For starters, you want a clean background for any product-only photos.
The great news is that you can achieve a nice, clutter-free background without breaking the bank or exerting too much effort. One of the easiest ways to do this is to create a makeshift shooting table. For this method, you’ll simply clip a large sheet or roll of white craft paper to the back of a chair and then let the paper drape neatly over the entire front of the chair. (Note: of course, if the item you are photographing is white, you’ll need to choose another basic-yet-clean color, such as gray.)
Or, instead of clipping the paper to the chair, you can back the chair all the way up against a wall and then tape the roll of craft paper to the wall above the chair. Then you simply let the paper cascade down naturally in front of the chair, thus creating a seamless transition between the horizontal and vertical planes.
These are just two ways to create a nice, solid background against which to photograph your item. You can also simply use a table covered in white craft paper / another white backdrop or any kind of stand that will allow the white paper / backdrop to flow down easily.
Get the Lighting Right
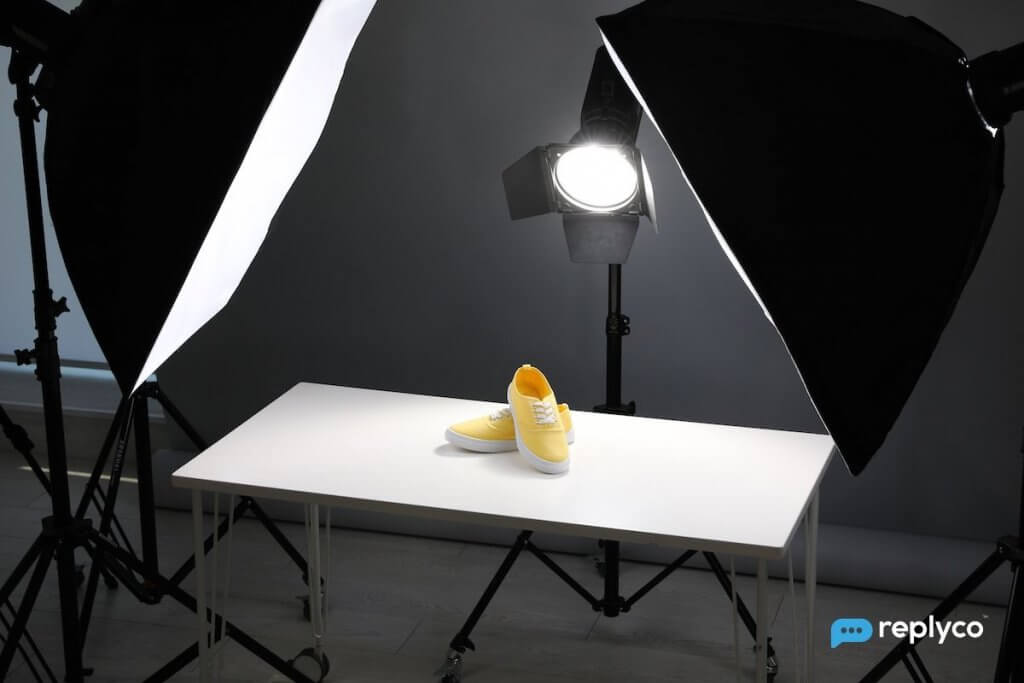
You also need to make sure the lighting for your product photos is right. One option is to photograph products using the sun as your light source, but this method can be unpredictable and lead to varying results.
A more dependable method is to invest in good lighting. PracticalEcommerce recommends the Elinchrom D-Lite 4 Kit. This kit comes with two lights, tripods and attachable diffuser squares. They also stress that, regardless of which lighting kit you choose, it’s important to shoot in “continuous mode” rather than using flash. This also enables you to take video.
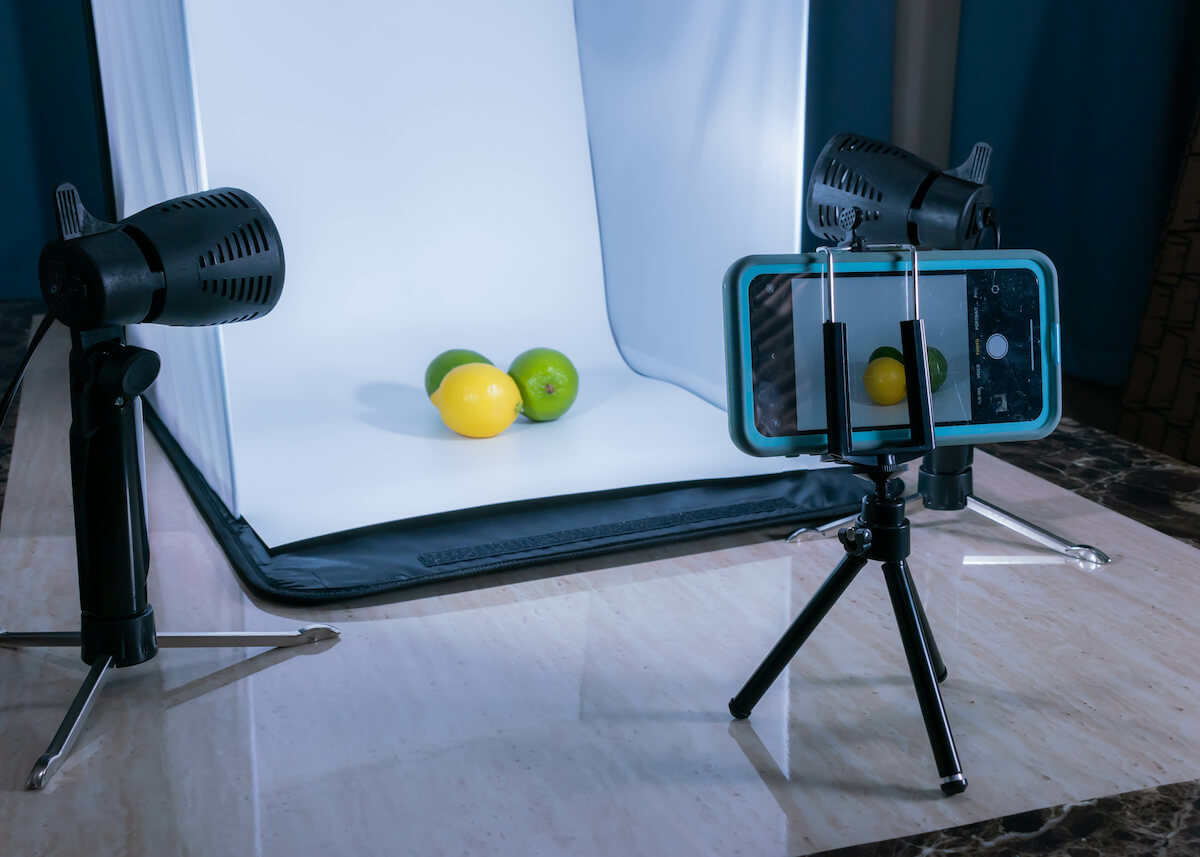
However, if you’re on a budget and can’t afford an expensive lighting kit, you can also opt for a DIY method. This article from BigCommerce explains how to set up your own light tent with plastic storage containers, white paper and artificial or natural light.
Use a Good Camera
Finally, on the topic of image quality, clarity and resolution, you’ll want to use a good camera. Of course the camera you use will depend on your budget. But whether you’re using a digital single-lense reflex model (DSLR) like the Nikon D7000 or your smartphone, you need to make sure it takes nice, clear shots.
Luckily, the work you’ve already done with your background and lighting will go a long way toward helping your camera capture the best product photos possible.
Make Your Product Photos Accurate & Comprehensive
Now that we’ve covered the technical aspects of good product photography, let’s talk about a few considerations.
First of all, sellers should always make their product photos as accurate and comprehensive as possible. Shoppers deserve to know exactly what they’re buying, so don’t try to hide flaws when taking your pictures. Instead, make sure the product looks nice but is also honestly represented.
For example, if you’re selling a used item that has certain damages or scuffs, include those details in your photos and your description.
Follow Marketplace / Platform Guidelines
Also, most marketplaces have their own rules and guidelines surrounding product photos. So you’ll need to familiarize yourself with things like resolution, size and other requirements for anywhere that you sell.
Here are tips and / or requirements from some of the major eCommerce marketplaces and platforms:
Amazon Product Image Requirements
Uploading Images: Shopify Help Center
Optimizing Your Images: BigCommerce
Fixing Blurry Product Images: WooCommerce
Requirements & Best Practices for Etsy Images
Keep Shoppers Happy
Once you’ve spent all this time and effort making sure your product photos are perfect, what’s next? This is when you need to make sure you don’t lose the sale once the customer asks you a question.
That’s why it’s so important to stay on top of your customer messaging for everywhere you sell. Thankfully, Replyco can help. With over 20 integrations, we enable eCommerce sellers to consolidate all of their messaging into one easy-to-use inbox. And with the easy organization, prioritization and sorting offered in our Replyco Dashboard, you never have to worry about customer inquiries falling through the cracks.
Ready to see the Replyco difference for yourself? Take a tour of our features. Or get your inbox under control right now by starting your free trial today!


